
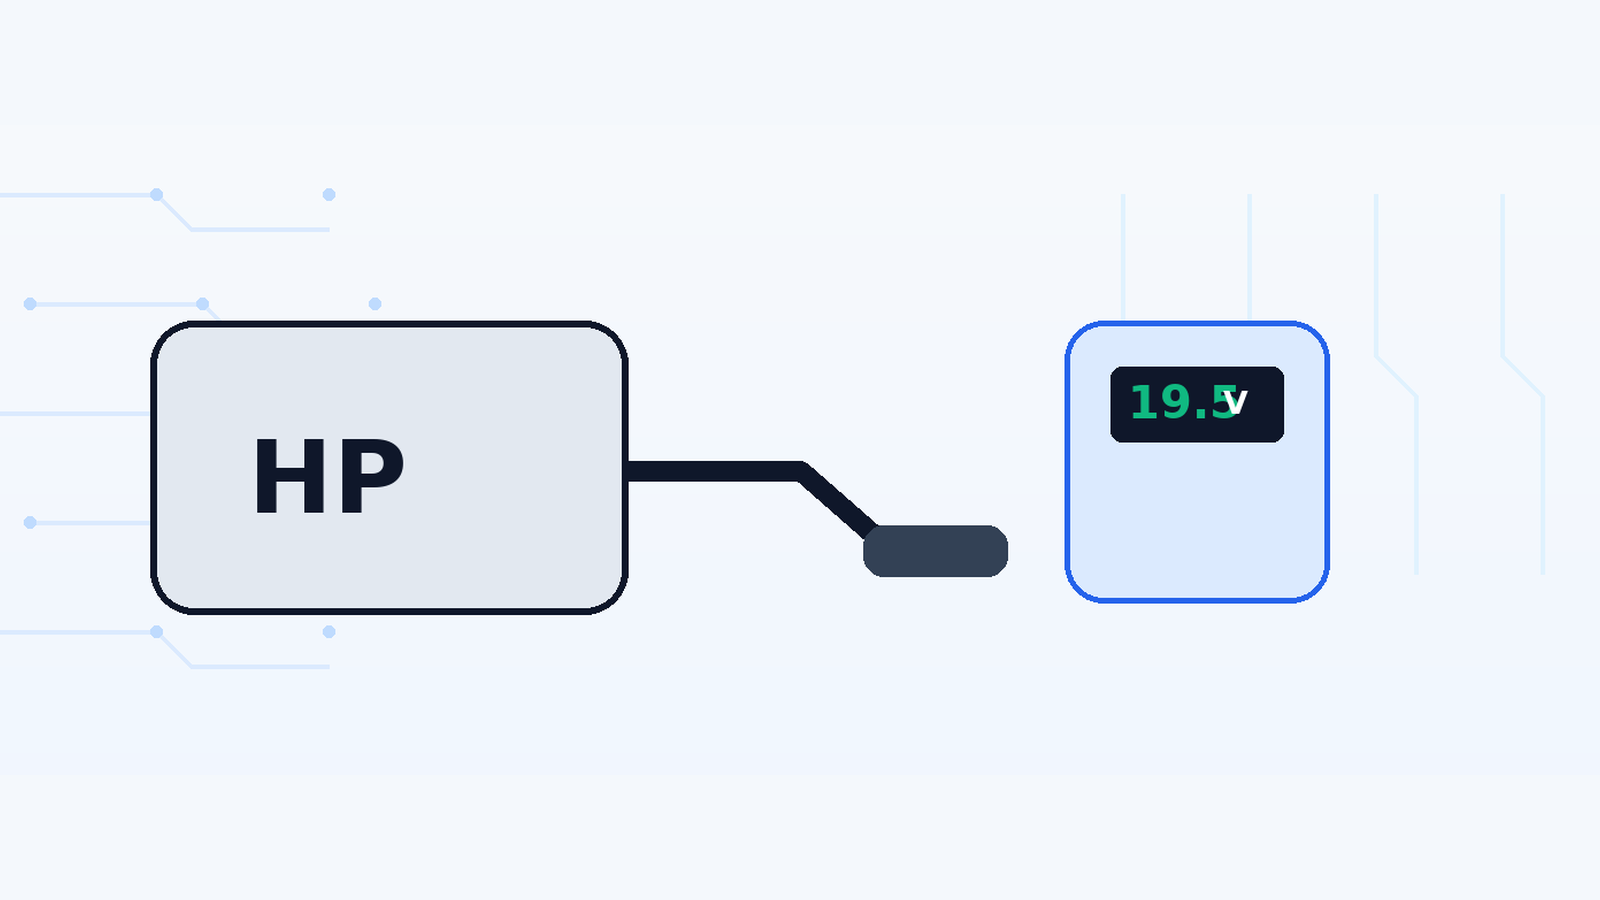

An HP laptop “charger” is more accurately an AC power adapter: it converts mains AC into low-voltage DC, while the laptop contains the circuitry that actually manages battery charging. When the adapter fails, the symptom can be obvious, such as no output at all, or annoyingly subtle, such as a laptop that powers on but reports that the adapter is not recognized.
This guide starts with safe checks that beginners can perform without opening the adapter, then explains the fault areas a trained electronics technician would investigate inside a switch-mode power supply. The practical ElectroCareHub video shows the repair process, while the article adds the measurements, Smart Pin explanation and troubleshooting logic needed to understand the fault rather than simply copy a component replacement.
Safety boundary: Beginners should stop at external inspection, DC-output measurement and substitution with a known-good compatible adapter. Do not open a sealed laptop adapter unless you are trained in mains-powered switch-mode power supplies. The primary side is connected to hazardous mains voltage, and the large primary capacitor can remain charged after the adapter is unplugged.
First: read the charger label before testing anything
The label tells you the expected output voltage, maximum current and total wattage. A common HP 65 W Smart AC adapter is rated around 19.5 V at 3.33 A, while a common 90 W unit is around 19.5 V at 4.62 A. Those are useful examples, not universal specifications.
HP also uses different connector systems. Common barrel-style designs include a 4.5 x 3.0 mm blue-tip Smart Pin connector and an older/larger 7.4 x 5.0 mm Smart Pin connector. Modern laptops may use USB-C Power Delivery instead. Always match the exact laptop requirements and connector type.
| Example adapter class | Typical example | What to verify |
|---|---|---|
| 45 W barrel adapter | 19.5 V, 2.31 A | Exact laptop model, connector and Smart Pin compatibility |
| 65 W barrel adapter | 19.5 V, 3.33 A | Voltage, wattage, plug size and Smart Pin |
| 90 W barrel adapter | 19.5 V, 4.62 A | Voltage, connector and whether the laptop accepts this adapter class |
| USB-C adapter | Often 20 V at higher-power PD profiles | USB-C PD support, required wattage and cable rating |
Compatibility rule: voltage and connector/communication must match the laptop. An adapter with a higher available current/wattage can often be acceptable when it is a compatible HP Smart adapter, because the laptop draws only what it needs. A lower-wattage adapter can cause warnings, slow charging or failure under load.
What is the HP Smart Pin?
Many HP barrel connectors have three electrical functions: the main positive output, the return/ground connection and a small center Smart Pin. The Smart Pin carries adapter-identification information so the laptop can determine whether the connected power source is suitable. It is not simply another power wire.
This matters during repair because a charger can measure the correct main DC voltage and still fail to charge normally if the Smart Pin, sense wire, plug or identification circuit is damaged. Typical symptoms include an “adapter not recognized” warning, reduced performance, slow or no battery charging, or a laptop that runs from AC but refuses to charge the battery.
Common HP charger failure symptoms
- No LED or power indication and no DC output.
- Correct output appears only when the cable is held at a certain angle.
- Adapter output is present, but the laptop reports an unrecognized or low-power adapter.
- Laptop powers from the adapter but the battery does not charge.
- Adapter repeatedly starts and stops, clicks, or causes charging to connect/disconnect.
- Adapter becomes unusually hot or shuts down under load.
- Visible damage at the DC plug, strain relief or AC input cable.
Beginner-safe diagnostic workflow
Step 1: Eliminate the wall outlet and detachable AC lead
Try a known-good wall outlet. If the adapter uses a detachable mains lead, inspect it for cuts, loose pins or heat damage and substitute a known-good lead of the correct type. HP recommends using grounded outlets where a grounded adapter/lead is provided and not defeating the grounding pin.
Step 2: Inspect the adapter and DC cable
- Look for cuts, kinks, crushed areas and exposed conductors.
- Inspect the DC plug for a bent, loose or missing center Smart Pin.
- Check both strain-relief points where the cable leaves the power brick and enters the plug.
- Smell for burnt components and look for swelling, melting or discoloration. Do not power a visibly damaged adapter.
Step 3: Verify the expected output from the label
Do not guess the expected voltage from the laptop brand. Read the adapter label and the laptop power-input requirement. Record voltage, current, wattage and connector type before measuring. This also prevents a perfectly healthy but incompatible adapter from being misdiagnosed as faulty.
Step 4: Measure the DC output carefully
Set a digital multimeter to DC volts on a range above the adapter rating. On a conventional HP barrel connector, the main output is measured between the power contacts of the barrel, but avoid touching or shorting the small center Smart Pin with a probe. If you are not confident identifying the contacts, do not probe the plug. A short at the connector can damage the adapter or meter probe.
Compare the reading with the label. A stable reading close to the rated voltage is a good first sign, but it does not prove the adapter is healthy under load. Zero volts suggests a dead adapter, open output cable or protection shutdown. A reading that appears and disappears while the cable is moved strongly suggests a cable/connector fault.
Do not use current mode across the charger output. Placing a multimeter set to amps directly across the adapter is effectively a short circuit. Current is measured in series with a suitable load, not across the output terminals.
Step 5: Perform a gentle cable-flex test
With the meter connected safely, gently move the low-voltage cable near the plug and brick strain relief. If the voltage cuts in and out, the copper conductors may be fractured internally. This is one of the most repairable charger faults, but HP Smart adapters can have an additional identification/sense conductor that must also remain intact.
Step 6: Compare with a known-good compatible HP adapter
A known-good adapter is one of the fastest ways to separate an adapter fault from a laptop DC-jack, battery or motherboard problem. The replacement must have the correct voltage, sufficient wattage, compatible connector and Smart Pin/USB-C behavior. If the known-good adapter produces the same symptom, the problem is probably not inside the original power brick.
What if the charger measures 19.5 V but the laptop still does not charge?
This is where simple voltage-only diagnosis fails. If the main output is correct but the laptop does not recognize the adapter, check the connector and Smart Pin path before blaming the battery.
- Inspect the center Smart Pin for physical damage or looseness.
- Flex the output cable while watching whether the laptop recognition message changes.
- Check for a broken third/sense conductor when repairing or replacing the DC cable.
- Verify that the adapter wattage is sufficient for the laptop model.
- Check the laptop DC jack for looseness, debris or damaged contacts.
- If possible, test the suspect charger on another compatible HP laptop and test a known-good charger on the original laptop.
Technician section: what is inside an HP laptop adapter?
A typical barrel-style HP adapter is an isolated switch-mode power supply (SMPS). Exact designs vary, but the functional path is broadly similar: mains filtering and protection, rectification to high-voltage DC, a switching stage and transformer, isolated secondary rectification/filtering, feedback regulation, and the output cable/Smart Pin circuitry.
| Section | Typical parts / function | Common fault clues |
|---|---|---|
| AC input & protection | Fuse, NTC/inrush limiter, EMI filter | Completely dead adapter, blown fuse, surge damage |
| Primary rectifier & bulk DC | Bridge rectifier, high-voltage electrolytic capacitor | No startup, blown protection components, visible damage |
| Primary switching | PWM controller, MOSFET, startup/bias network | Dead adapter, cycling/ticking, repeated fuse failure |
| Isolation & feedback | Transformer, optocoupler/reference network | Wrong/unstable output, start-stop behavior |
| Secondary output | Rectifier/SR stage, output capacitors, filtering | Low/unstable voltage, ripple, heating, shutdown under load |
| Output cable & Smart Pin | DC conductors, plug, identification/sense path | Intermittent power, correct voltage but adapter not recognized |
Technician safety: Internal SMPS troubleshooting involves hazardous primary-side voltages. De-energized continuity/resistance checks are safer than live probing, but the bulk capacitor must first be verified discharged using appropriate procedures and equipment. Any live primary-side measurement requires proper isolation, instruments and training. This article intentionally does not give a “probe these live mains points” recipe.
Common repair scenario 1: broken DC output cable
If the output changes when the cable is flexed, or the outer insulation is damaged, the low-voltage cable may be the fault. A technician can verify continuity with the adapter unplugged and safely discharged. On HP Smart adapters, a replacement cable must preserve the main positive conductor, ground/return and the Smart Pin/sense conductor where present.
After replacing a cable, verify polarity and the Smart Pin path before connecting the adapter to a laptop. Insulate every joint properly and restore strain relief. A working electrical repair with exposed or mechanically weak joints is not a finished repair.
Common repair scenario 2: damaged connector or Smart Pin
A bent or broken center pin can produce the confusing case where the laptop receives power but does not identify the adapter correctly. Replacing only the plug/cable can solve the fault if the adapter electronics and identification circuit are healthy. Match the connector size and wiring exactly; visually similar plugs from other brands are not automatically compatible.
Common repair scenario 3: dried or failed output capacitors
Electrolytic capacitors on the low-voltage secondary side can age from heat. A failed capacitor may cause excessive ripple (لہری شور), unstable output, start-stop behavior or shutdown under load even when the no-load voltage appears normal. Technicians should inspect for bulging/leakage and use appropriate ESR/capacitance testing where needed. Replacement capacitors must have suitable capacitance, voltage rating, temperature rating and low-ESR characteristics for SMPS service.
Common repair scenario 4: primary or secondary semiconductor failure
A shorted primary MOSFET, failed bridge rectifier, startup circuit problem or failed secondary rectifier can make the adapter completely dead or repeatedly trip protection. These are technician-level faults because the failure can involve multiple parts and the cause must be found before replacing the obviously damaged component. Replacing a fuse or MOSFET without checking why it failed often turns the new part into a very brief experiment.
How to validate the repair
- Confirm the repaired adapter label and connector match the target laptop.
- Measure a stable no-load DC output that agrees with the label.
- Repeat the cable-flex test at both strain-relief points.
- Verify laptop recognition: no incorrect-wattage/unrecognized-adapter warning.
- Confirm the battery actually begins charging and the laptop remains stable.
- Observe the adapter under normal load for excessive heat, smell, cycling or voltage dropout.
- If a technician has a suitable electronic load, verify the adapter can deliver a reasonable load without the output collapsing, while staying within the adapter rating.
A no-load voltage reading is not the final test. A weak adapter can show the correct voltage on a multimeter and collapse only when the laptop draws significant current.
Troubleshooting table
| Symptom | Check first | Likely direction |
|---|---|---|
| 0 V at DC plug | Outlet, AC lead, cable continuity | Dead adapter electronics, open output cable or protection shutdown |
| Voltage appears only when cable is bent | Flex test near plug/brick | Broken conductor or damaged strain relief |
| Correct voltage, “adapter not recognized” | Center Smart Pin, cable sense conductor, connector compatibility | Smart Pin/ID path fault or wrong adapter |
| Laptop runs but battery will not charge | Adapter recognition/wattage, battery status, DC jack | Wrong/low-wattage adapter, Smart Pin issue, battery or laptop charging circuit |
| Charges intermittently | Cable, plug, DC jack, output under load | Mechanical connection, fractured wire or unstable power supply |
| Correct no-load voltage but fails under load | Measure voltage while loaded | Weak capacitors, control/feedback fault, bad cable or insufficient adapter |
| Adapter very hot | Load/wattage, ventilation, output short | Overload, internal fault, blocked cooling or wrong adapter |
| New fuse blows immediately | Do not keep replacing fuses | Primary short such as MOSFET/bridge or another internal fault; technician diagnosis required |
Common mistakes to avoid
- Assuming every HP charger is 19.5 V or uses the same barrel plug.
- Judging the adapter only by whether an LED is lit.
- Measuring the main output and ignoring the Smart Pin when the laptop says the adapter is not recognized.
- Setting a multimeter to current mode and placing it directly across the adapter output.
- Replacing a three-conductor HP Smart cable with a two-conductor cable and losing adapter identification.
- Using a lower-wattage adapter because the plug fits.
- Opening a sealed mains adapter as a beginner or probing the primary side live without proper isolation and training.
- Replacing a blown fuse/MOSFET without finding the root cause.
Frequently asked questions
What voltage should an HP laptop charger output?
Many current HP barrel-style adapters use 19.5 V, but this is not universal. Older adapters can use 18.5 V, USB-C models use negotiated Power Delivery profiles, and other designs exist. Read the label on the exact adapter and laptop.
Why does my HP charger show 19.5 V but the laptop says it is not recognized?
The main power output can be correct while the Smart Pin/identification path is faulty. Inspect the center pin, output cable, connector and adapter compatibility. A broken sense conductor can produce this symptom.
Can I use a 90 W HP charger on a laptop that originally had 65 W?
Often yes if it is a compatible HP Smart adapter with the correct voltage and connector, because the laptop draws only the current it requires. Check HP compatibility for the exact laptop. Do not substitute the wrong voltage or connector.
Can I use a 45 W charger instead of 65 W?
It may power some laptops lightly, but it can cause slow charging, warnings or shutdown/performance limits. Use the wattage specified for the laptop or a compatible higher-capacity adapter.
How do I know if the charger cable is broken inside?
Measure the low-voltage output safely and gently flex the cable near the plug and brick. If the reading or laptop charging state cuts in and out, a fractured conductor is likely.
Is it safe to open a laptop charger after unplugging it?
Not automatically. The primary bulk capacitor can retain hazardous voltage after disconnection. Internal repair should be done only by trained technicians who know how to verify the unit is safely discharged.
Why does a repaired charger work with a meter but not charge the laptop?
A multimeter applies almost no load and cannot by itself verify full-load performance or Smart Pin communication. Test laptop recognition, output under load, the connector/sense path and the laptop battery/charging system.
Should I repair or replace a laptop charger?
Cable/connector faults can be economical to repair when done safely. Major primary-side damage, burnt insulation, cracked enclosures or questionable counterfeit adapters often make replacement with a genuine compatible adapter the safer choice.
Final takeaway
Good HP charger diagnosis follows a sequence: confirm the correct adapter specification, inspect the cable and Smart Pin, measure the DC output, test for intermittent wiring, compare with a known-good compatible adapter, and only then consider internal SMPS repair. That order prevents unnecessary component replacement and helps distinguish a charger fault from a laptop battery, DC-jack or motherboard problem.